 TableGrip
Getting started
Quick start
From a fresh install to your first query in five minutes.
This walk-through takes you from opening TableGrip for the first time to browsing a table and running a query.
#1. Add a connection
When you open TableGrip with no connections, the explorer on the left says No connections yet and offers three ways to start:
- Import Them… appears when TableGrip finds connections in TablePlus, DBeaver, DataGrip,
~/.pgpassor.envfiles on this computer. It's the fastest way in; see Move from another tool. - New Connection… opens the connection dialog.
- Open Data File… opens a CSV, Excel or JSON file as a table. See CSV, Excel & JSON files.
For a new connection:
Click New Connection….
If you have a connection URL, paste it in the Paste field at the top and click Parse. Everything else fills in by itself. For example:
textpostgresql://app:secret@localhost:5432/shopOtherwise choose the Type (PostgreSQL, MySQL, SQLite…) and fill in Host, Port, Database, User and Password. For a file database such as SQLite, choose the File instead.
Click Test Connection. If the driver isn't installed yet, TableGrip offers to download it.
Click Save.
The password goes into your system keychain, never into TableGrip's own files.
Tip
Give production connections the Production environment under Options. TableGrip then colours them red everywhere and asks before any statement that changes data. See Safety & environments.
#2. Browse a table
Click the connection in the explorer to connect. Expand it to see its schemas and tables, then double-click a table to open its rows in the data grid.
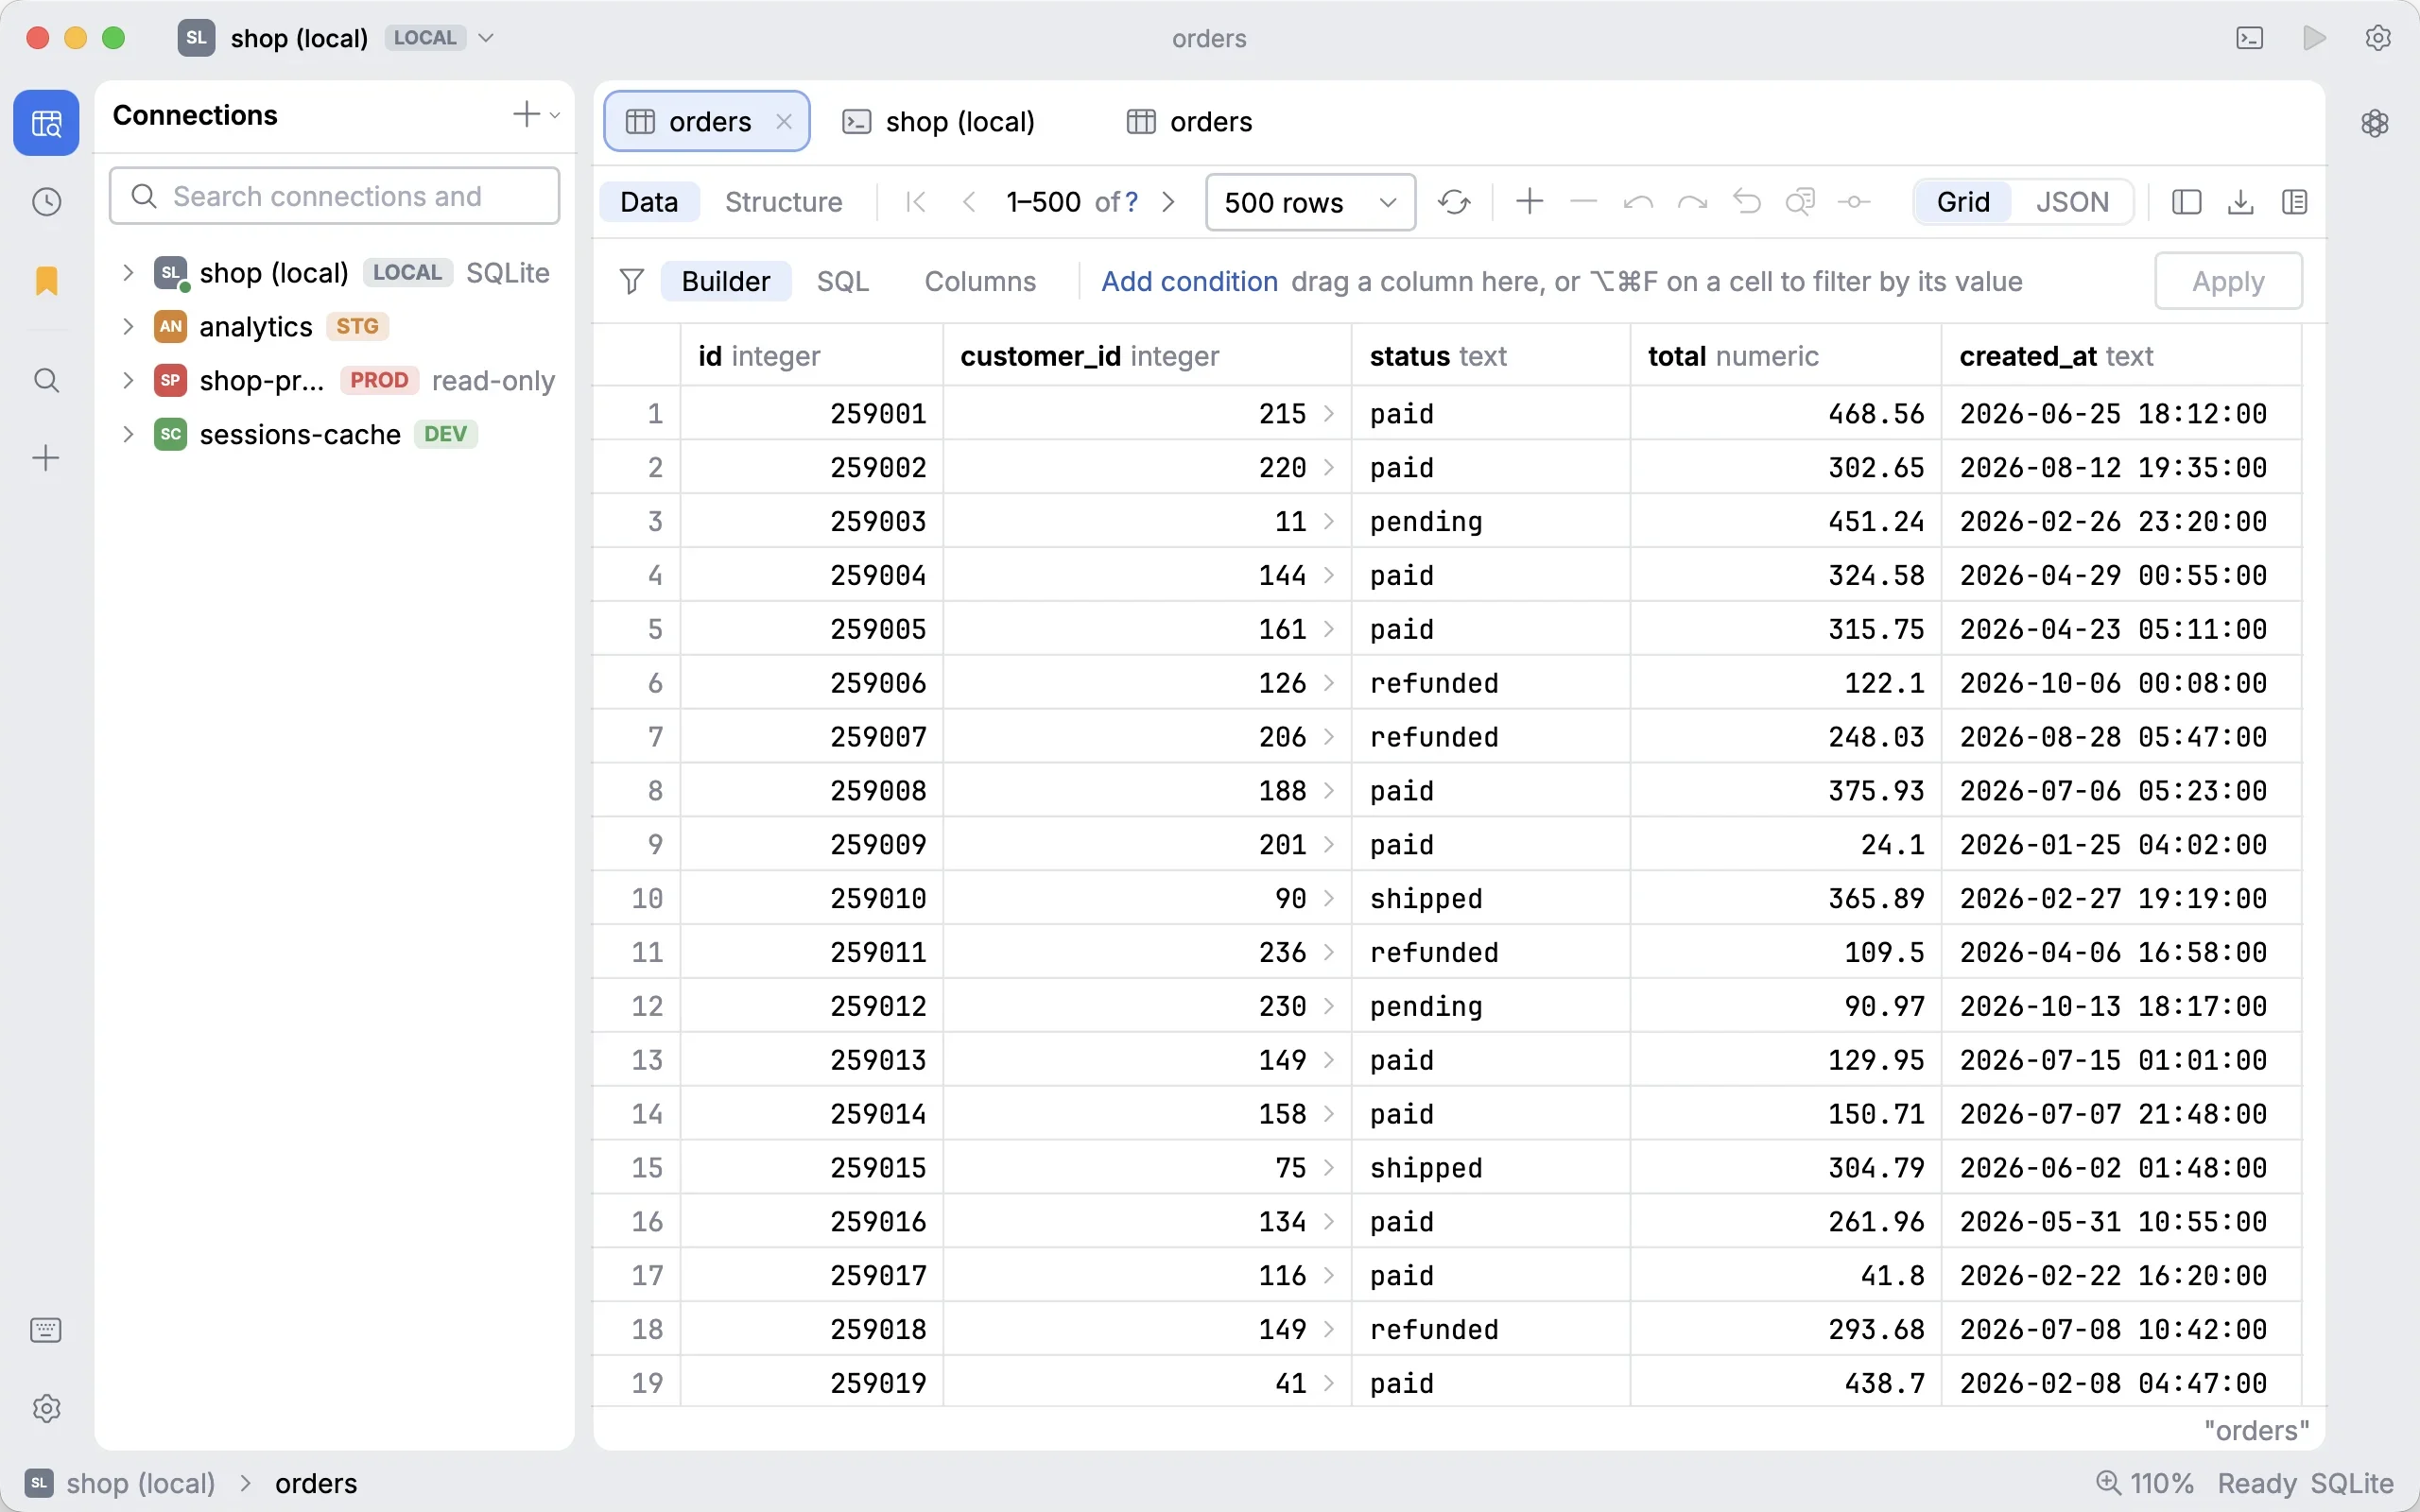
From here you can:
- Sort by clicking a column header.
- Filter with the bar above the grid, for example
created_atin the last 7 days. See Filtering data. - Edit a cell by double-clicking it. Your change waits, highlighted, until you press ⌘ ↩ to submit.
- Switch to Structure (top left of the tab) to see the columns, indexes and keys.
#3. Write a query
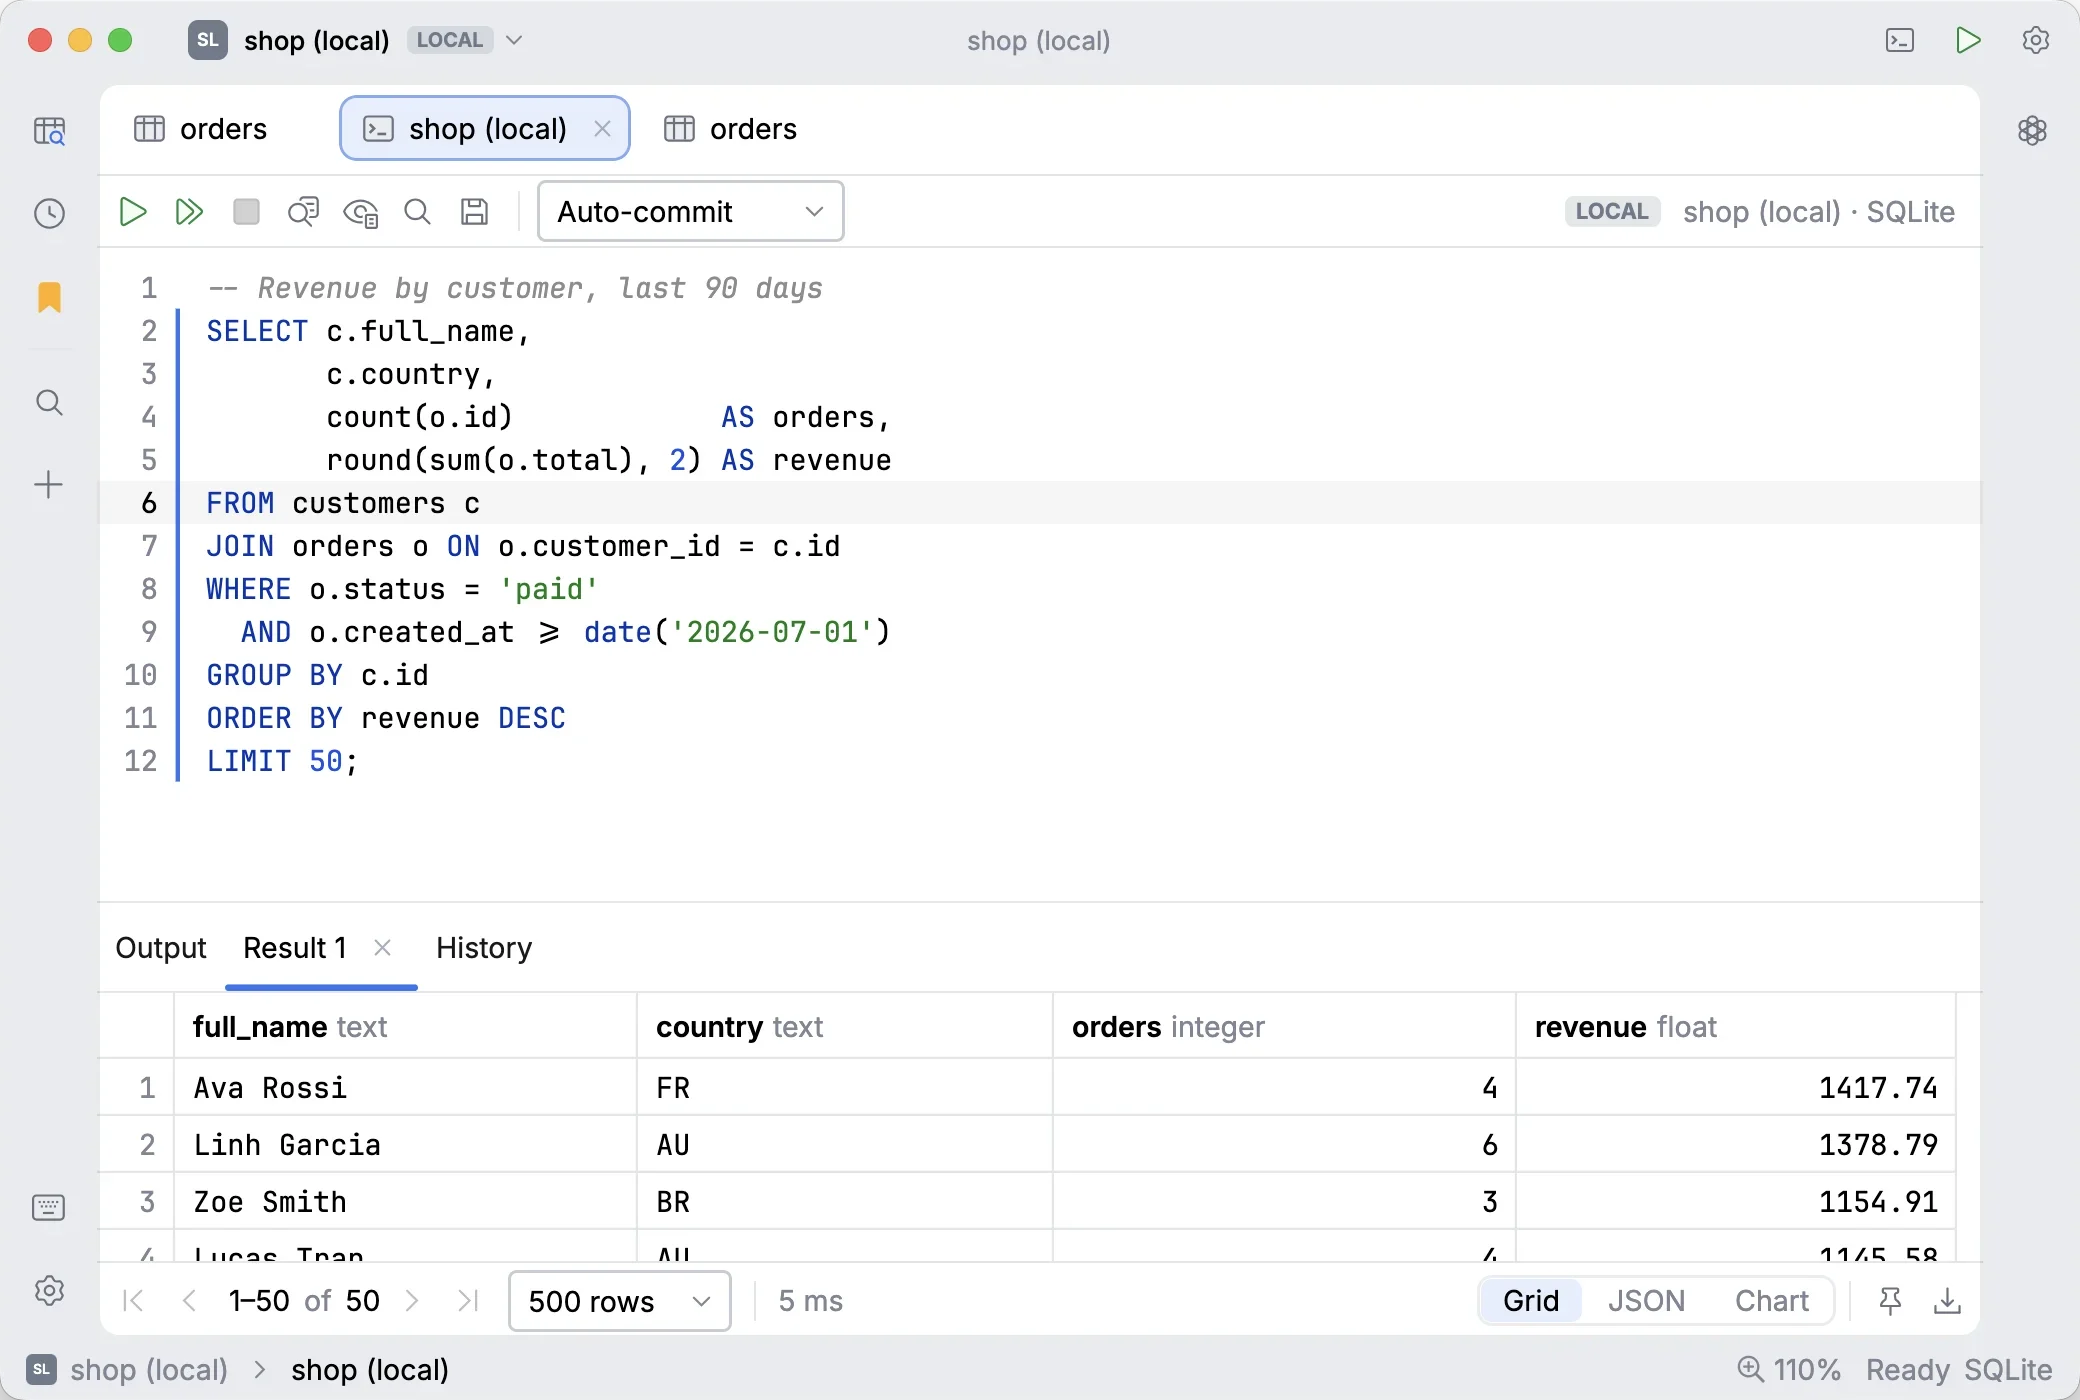
Press ⌘ T to open a console for the current connection, and start typing. Completion suggests tables and columns as you go.
SELECT status, count(*) AS orders, sum(total) AS revenue
FROM orders
GROUP BY status
ORDER BY revenue DESC;
Press ⌘ ↩ to run the statement under the caret. The results open below.
#4. Find anything
Press ⌘ P (or ⇧ twice) and type a few letters of a table, a saved query or an action. It's the quickest way to get around. See Go to anything & sessions.
#Where to next
- SQL editor: completion, formatting,
EXPLAINand fixes for errors. - Saved queries & history: keep the queries you run often.
- AI agent: ask questions about your schema in plain language.
- Keyboard shortcuts: the full list.